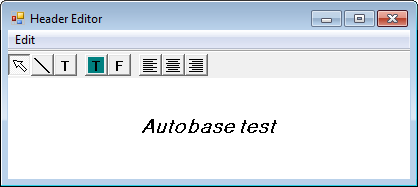
This dialog box is used to set the header/footer text

<Figure 1> Header Editor dialog box
Header/Footer Editor have an icon and Edit menu as follows.
![]() : It
is icon to select edit icon, text and line object.
: It
is icon to select edit icon, text and line object.
![]() : It is
icon to draw line.
: It is
icon to draw line.
![]() : It is
icon to insert text object.
: It is
icon to insert text object.
![]() : It is
icon to change the text color which you select.
: It is
icon to change the text color which you select.
![]() : It is
icon to change the font, text size which you select.
: It is
icon to change the font, text size which you select.
![]() : It is
icon to make left alignment.
: It is
icon to make left alignment.
![]() : It is
icon to make center alignment.
: It is
icon to make center alignment.
![]() : It is
icon to make right alignment.
: It is
icon to make right alignment.

<Figure 2> Edit menu in Header/Footer Editor
Setting the text color
This dialog box is used to set the text color, by selecting the
![]() icon.
icon.
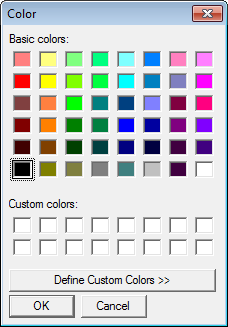
<Figure 3> Dialog box for selecting the text color
Setting the font
This dialog box is used to set the font, by selecting the
![]() icon.
icon.
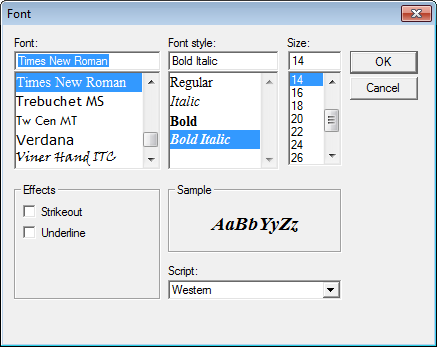
<Figure 4> Font settings dialog box
Reconfiguring the straight line properties.
This dialog box is used to set the thickness of line object, by using the up&down button.
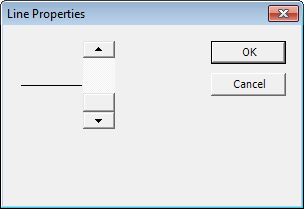
<Figure 5> Line Properties dialog box
Reconfiguring the text properties
This dialog box is used to set the text properties.
It can be performed by clicking the 'Edit | Properties' or text object.
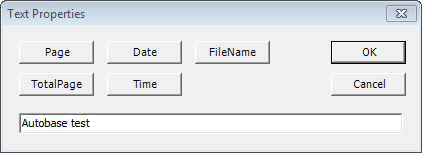
<Figure 6> Text Properties dialog box
You can enter the text and menu button as follows.
![]() : It
displays current page number, to be printed. (Also, entering the &[Page] at
editor, makes same result)
: It
displays current page number, to be printed. (Also, entering the &[Page] at
editor, makes same result)
![]() : It
displays total page number at each page, to be printed. (Also, entering the
&[TotalPage] at editor, makes same result)
: It
displays total page number at each page, to be printed. (Also, entering the
&[TotalPage] at editor, makes same result)
![]() : When
you print the report, it displays the date as 2013/4/19 form. (Also, entering
the &[Date] at editor, makes same result)
: When
you print the report, it displays the date as 2013/4/19 form. (Also, entering
the &[Date] at editor, makes same result)
![]() : When
you print the report, it displays the time as 13:02:32 form. (Also, entering the &[Time]
at editor, makes same result)
: When
you print the report, it displays the time as 13:02:32 form. (Also, entering the &[Time]
at editor, makes same result)
![]() : It
displays the current file name as
'C:\AutoBase\Project\StartUp.rptx' form. (Also, entering the &[FileName]
at editor, makes same result)
: It
displays the current file name as
'C:\AutoBase\Project\StartUp.rptx' form. (Also, entering the &[FileName]
at editor, makes same result)
Relate items)